Every once in a while, I toddle on over to SlideShare, where I post most of my presentations, and just check to see how many views my presentations have had.
This time, I was gratified to see that I’ve crossed one of those significant boundaries. My presentations have been viewed more than one hundred thousand times.
My all-time Top Ten presentations are listed below:
Building Facebook Apps
Creating Dynamic Charts with JFreeChart
Creating a World-Class RESTful Web Services API
21st Century Writer
Social Networking: The Next Weapon Against Bad Actors
Rails and the Apache SOLR Search Engine
Elevator Up, Please!
Creating Killer Business Models
Creating Custom Charts Using Ruby Vector Graphics
Implementing OpenID for Your Social Networking Web Site
I’m interested in diverse subjects, but it was nevertheless interesting to see that the Top Ten included a cross-section of presentations corresponding to my interests, and not just any one particularly popular category. So my Top Ten list included presentations on Ruby/Rails, Java, Cyber Security, Writing and Science.
I’ll be speaking at the NovaRUG group on “Rails Security” on Thursday, September 22nd. Networking starts at 6:30 PM, with talks beginning at 7:00 PM. Be there! The other talks will be on reek (the static code analysis tool) and JRuby.
It’s a familiar problem. You’re creating a form and you want to mark certain fields as required. You’d rather not hard-code which fields are required, because this might change over time. Plus, you’ve already got validations in your model that check for the presence of required fields, and you’d really rather not duplicate any of that logic. So, how can you tell whether a field associated with an ActiveRecord model is required?
The Problem
Let’s assume that we have a model called Author, with required fields of first_name and last_name. The model looks like this:
   class Author < ActiveRecord::Base

      validates_presence_of :first_name
      validates_presence_of :last_name

   end
The validations ensure that the first_name and last_name attributes of the model will have values. The bottom line is that the model has information about which fields are required. We need to be able to interrogate the model to determine if a field is required.
The Solution
After a little bit of research, it turns out that ActiveRecord has a validators_on method. Let’s fire up the Rails console and see how it works:
OK, that gives us an array of validations for the specified field, where each validation is an instance of some type of validation class. That’s somewhat useful, but we can do better.
That’s even better. Now we have an array of classes, where each element is the class of a validator that has been placed on the specified attribute. The “&:class” argument to the map method causes the class method to be executed for each element in the array.
Now that we know how to get a list of the validations that are on a particular field, we can write a method that will return TRUE or FALSE based on whether a field is required. I’m going to throw in one wrinkle, though. I’d like to be able to call the method using either a class or an instance of a class.
I can put this method in my application_helper.rb file for my Rails application. Then I can call it from a view in two ways:
required?(Author, :first_name)
Or, assuming that the controller has passed an instance of the Author model to the view as @author:
required?(@author, :first_name)
By the way, this call works just fine, as well:
required?(@author, “first_name”)
Now my view logic can easily check whether a field is required.
<%= form_for(@author) do |f| %> <p><%= f.text_field :first_name %> <% if required?(@author, :first_name) %>*<% end %></p>
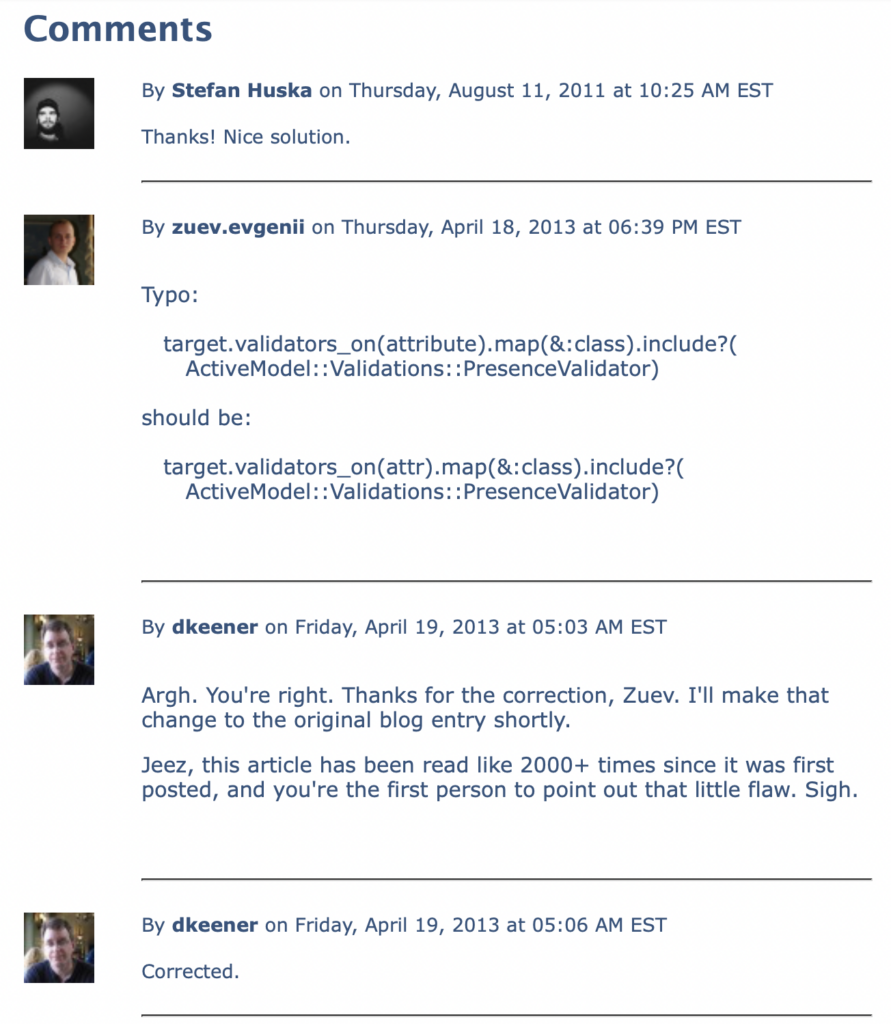
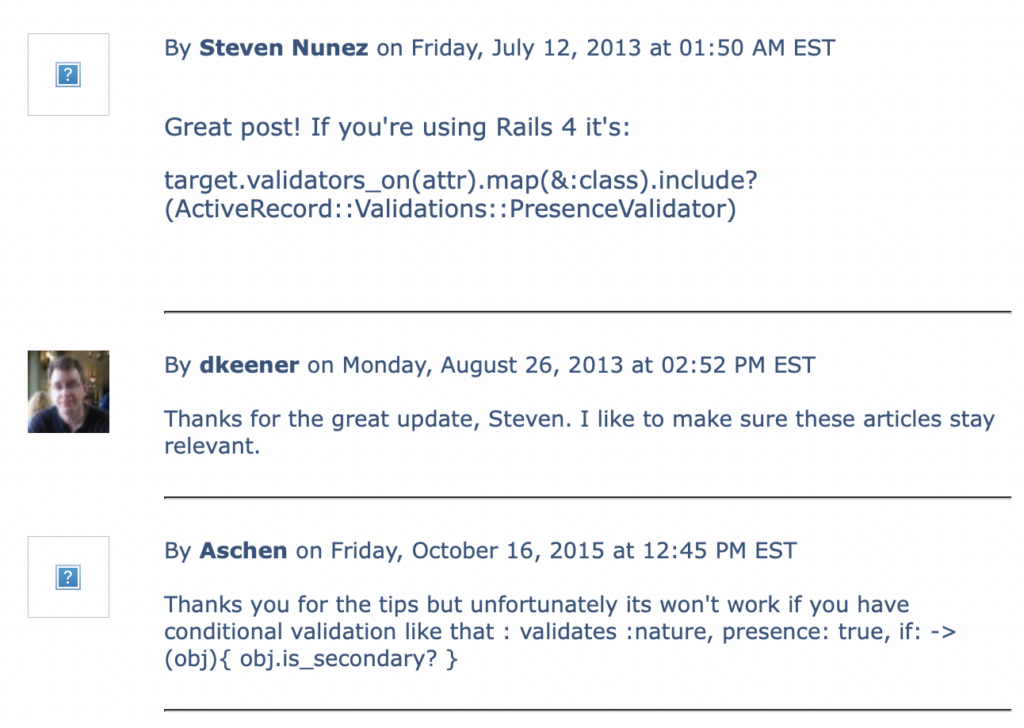
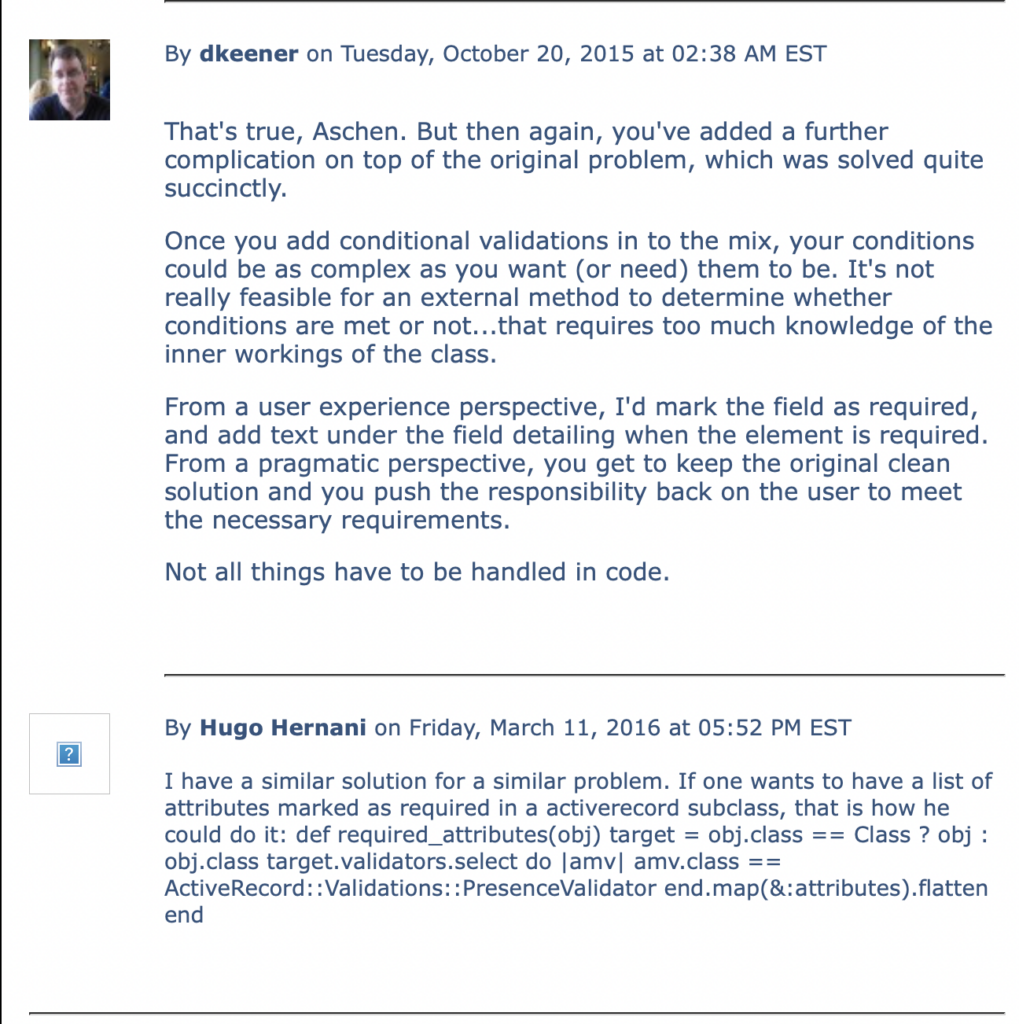
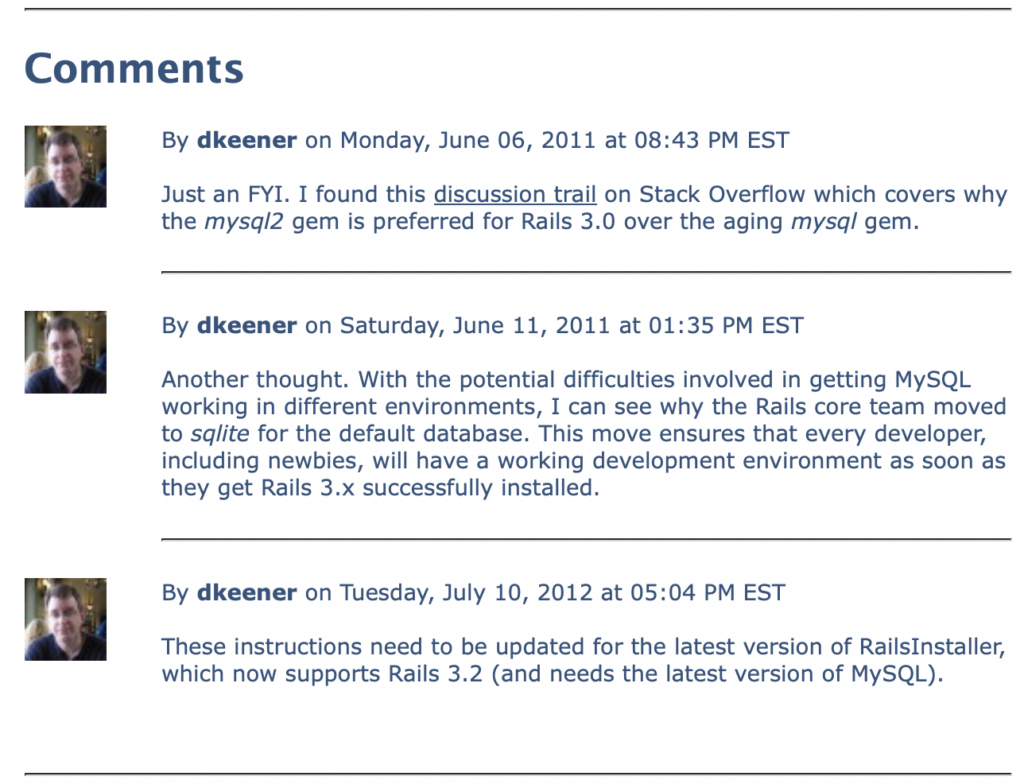
Reception
[May 5, 2026] This article was quite well received back in the day. Since I can’t easily port the comments from the old version of the KeenerTech.com website, I pulled some screenshots instead:
Sometimes you look at some source code and it just doesn’t look right. The code might seem inordinately complex for the simple task being accomplished. Or the developer might be performing certain actions repeatedly, such as checking variables for nil values. This is what is known as a code smell..
Code smells should be corrected at the earliest possible opportunity. In this article, I’ll talk about some real-world coding issues that my friend, Robb Kidd, and I recently encountered.
The Repetitive Value-Checking Code Smell
Here’s a code smell that I found in a Rails view:
<% if @item.summary.nil? || @item.summary == ” %> <p>Not Defined</p> <% else %> <p><%= @item.summary %></p> <% end %>
This type of code was provided for every field associated with an “item.” Not good. Not surprising, though. This is a pretty common code smell from Ruby newbies.
Here’s a slightly better modification:
<% if @item.summary.blank? %> <p>Not Defined</p> <% else %> <p><%= @item.summary %></p> <% end %>
The blank? method checks for both nil and empty strings in one method. It even works on arrays:
arr = [] arr.blank?
If the array is empty, as it is in the code above, then blank? returns true.
The blank? method is awfully convenient for these types of checks. It also has a companion method, present?, that does the inverse check, i.e. — it checks if a value is present (ensuring that the value is not blank).
Now we’ve got the original code sample down to one line using what amounts to an inline if-statement. That’s pretty good.
But we’re still repeating that if-statement for every field displayed. To DRY the code up even further, we could extract that statement into a helper method:
def format_text(txt) txt.blank? ? ‘Not Defined’ : txt end
In the view, the code then becomes:
<%= format_text(@item.summary) %>
Now the view is simple. Just the way I like it.
The Empty String Code Smell
I still wasn’t happy though. You see, the developer had told me that the reason he needed to check for empty strings everywhere was because empty strings were being physically stored in the database.
This was something that Robb Kidd and I began investigating immediately.
To me, this code smell was far worse than the original view-related one that had triggered this deep dive into the codebase. I was appalled that empty strings were being stored in the database.
This might not seem like a big deal to many Rails developers. But with the types of high-end enterprise systems that I typically build, high-quality data is vital. Relational databases represent empty fields as NULL. Once you start putting empty strings into database fields, you have compromised the usefulness of NULL to represent the absence of information. You’ve also doomed everybody who ever works with that database to check for both NULL’s and empty strings if they want to determine whether a valid value is present.
You’ve stored a code smell in the database for all eternity. Not good.
Even worse, the database may be an underlying component of a Rails application, but there’s nothing in an enterprise setting that ties it exclusively to the Rails application. If the Rails application is successful, then much of the application’s value derives from the integrity of the data that has been stored. Other applications, sometimes implemented in other languages, may be built on top of that database.
By pushing a code smell into the database, we’re forcing all future developers, not just Rails developers, to deal with the compromised usefulness of NULL. We may very well hear this from some future Python developer, “Jeez. Those Rails dweebs were amateurs. This wouldn’t have happened if they’d used Django.”
We should definitely deal with this problem. But first, how does it happen?
The application allows users to enter data via forms. Upon submission, Rails collects all submitted values into the standard params hash that is made available to controllers. Any form field that is a text field or text area will be assigned the empty string as a value. the following controller code perpetuates the empty string into the database:
Item.create!(params[‘item’])
Whoa. So I can hear you asking: “So this is a Rails problem?”
Yes. It is a Rails problem, and one that in my humble opinion should never have slipped through the cracks.
But we still need to correct it in our application. So, Robb and I started researching possible solutions.
The best solution we came across was from Henrik Nyh, a Ruby developer in Stockholm, Sweden. He published an excellent code snippet on GitHub’s gist sub-site. This is a site at gist.github.com that allows developers to publish short snippets of code that solve problems.
His code is a mix-in module that updates ActiveRecord’s write_attribute method to properly handle empty strings.
module NullifyBlankAttributes
def write_attribute(attr_name, value) new_value = value.presence super(attr_name, new_value) end
end
Note the use of the presence method, which takes an argument and returns either the argument itself or nil if the argument was blank.
Now what? What do we do with the module?
First, drop the module in the lib directory of the Rails application. Second, create an initialization file in the config/initializers directory of the Rails application. Let’s call it active_record_fixes.rb. The contents of the file will be:
class ActiveRecord::Base include NullifyBlankAttributes end
We have just monkey-patched Rails to correct our empty string code smell.
Conclusions
We discovered a code smell in our view code that masked a more pernicous underlying code smell. We got rid of both code smells with the help of a developer from Sweden that we’ve never met.
There are a few lessons to be learned from all this. First, code smells increase the maintenance profile of your application over time, making it more difficult to add new features and maintain existing ones. Code smells are an indication of a coding problem, and should be fixed as soon as feasible, even if the code is functionally working just fine.
Second, when you have a problem, don’t re-invent the wheel. We’re an international coding community. Somebody may very well have solved the problem already. Spend some time researching using Google in case somebody’s already developed a solution. In this case, Henrik solved the problem nicely a few years ago.
Finally, give back to the community. If you solve a problem that might reasonably impact others in the community, post a solution. Write a blog entry (as I have done). Or post a code snippet on gist.github.com, or answer a question posed on sites like Stack Overflow. Coding is hard enough as it is. Let’s share some solutions to make it easier on all of us.
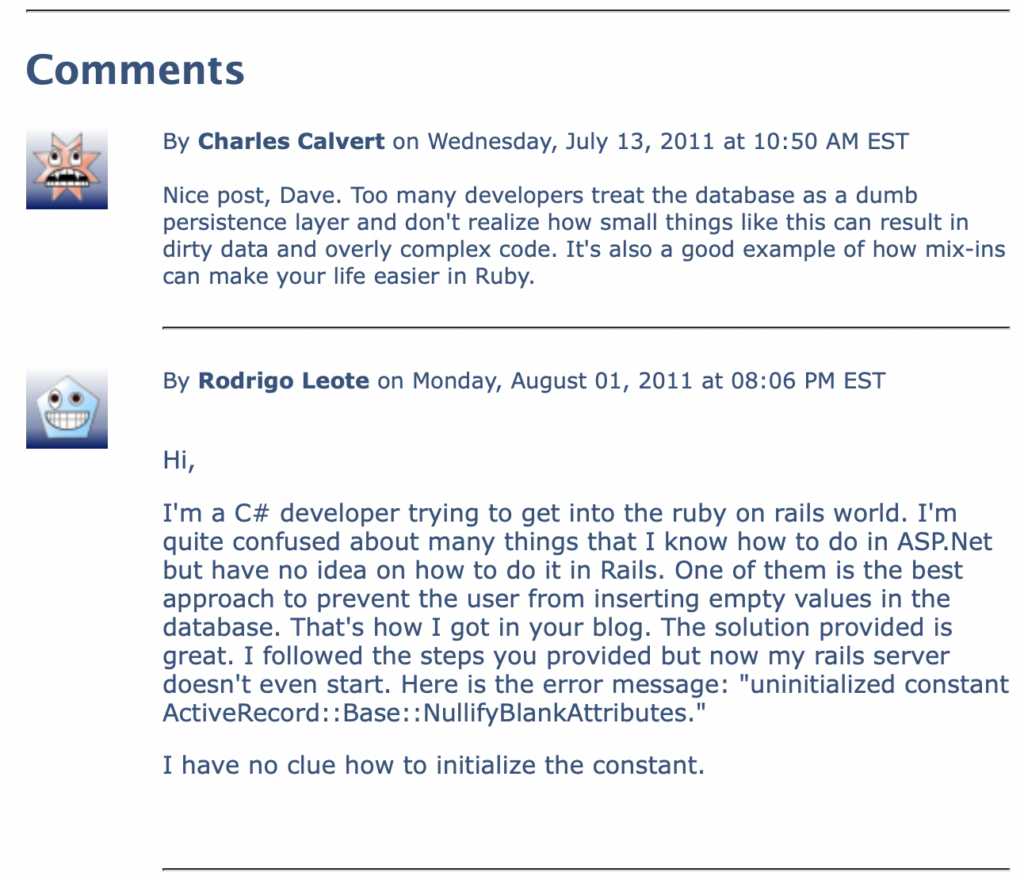
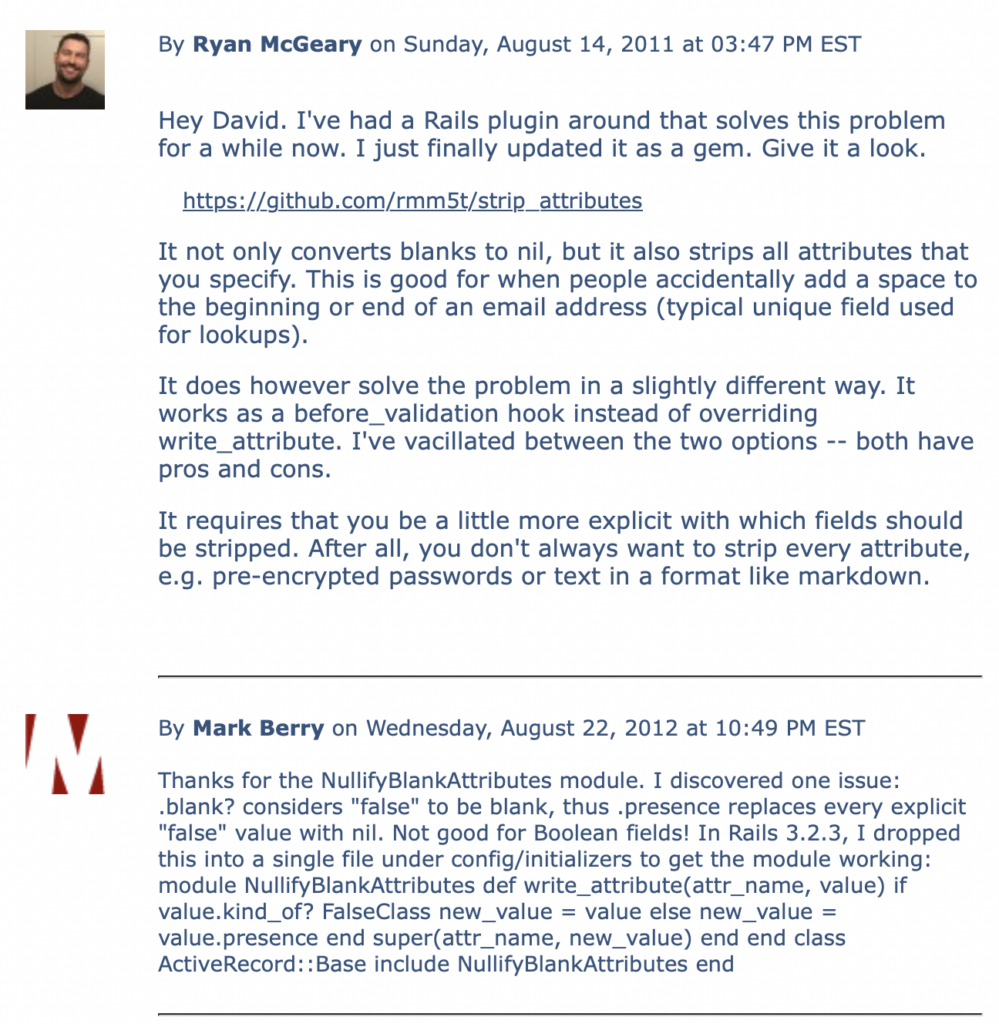
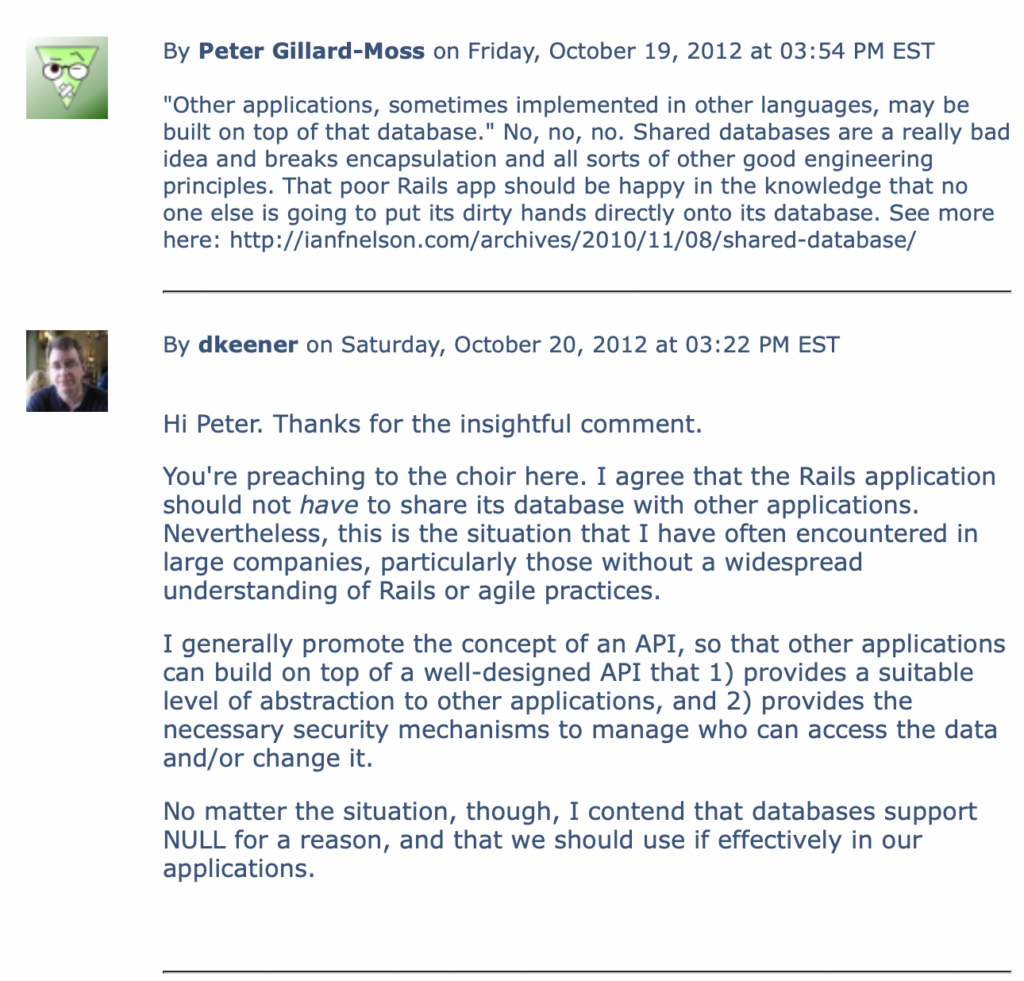
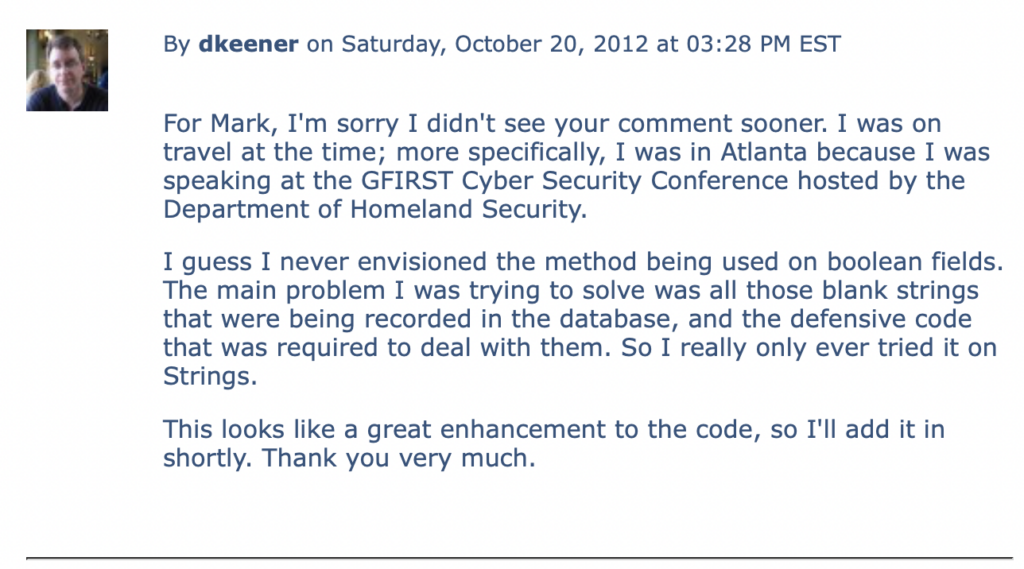
Reception
This article was well received and generated a number of excellent comments. Since I don’t have a way of porting them in smoothly from the old website, I’ve included snapshots of the comments…
In case you haven’t heard the news, Rails 3.1 was released today. Lots of incremental improvements, including built-in SASS support, JQuery as the default JavaScript library, the “asset pipeline,” etc.
Rails 3.0 is the new big thing, and deservedly so. But getting MySQL working with Rails 3 on a PC can be problematic. Here’s some easy steps to make your life a whole lot easier if you’re doing Rails and MySQL development on a PC (although most of the instructions, except for the obvious PC-isms, can apply to Mac or Linux systems, too).
First, let’s go over some background technical issues.
Rails 3 works with both Ruby 1.8.7 and Ruby 1.9.2. When it comes to the PC environment, working with Ruby 1.8.7 is still a little more reliable than 1.9.2, so our installation procedure will focus on Ruby 1.8.7.
Traditionally, Rails applications have used the mysql gem to work with MySQL databases. However, this gem hasn’t been updated since 2009, and the ActiveRecord component of Rails, which is responsible for object-relational database mapping, has changed dramatically. Accordingly, the new mysql2 gem is recommended instead.
The mysql2 gem requires some native extensions, so you’ll need the DevKit or the gem can’t be built properly.
I’ve found the easiest way to get all of the components that I want on my PC, e.g. — Ruby, DevKit, etc., is to download RailsInstaller.
So, let’s get started:
Install RailsInstaller: The RailsInstaller package comes with Ruby 1.8.7, Rails 3.0.7, DevKit, Git, bash and a few other niceties.
Test Your PATH Environment Variable: RailsInstaller should set up your PATH properly. To test this, go to the Start menu, under Programs -> RailsInstaller, where you’ll see entries for “Command Prompt with Ruby and Rails” and “Git Bash”. The first gives you a standard PC command window (but with C:\RailsInstaller\Ruby1.8.7\setup_environment.bat automatically called to set up the environment) and the second gives you a UNIX-like window and a bunch of UNIX commands (compliments of DevKit).To view the PATH in the command window: > echo %PATH%To view the PATH using bash: $ echo $PATHCheck that both C:\RailsInstaller\DevKit\bin and C:\RailsInstaller\Ruby1.8.7\bin appear in the PATH. The PATH should be correct for the command window; if not, edit C:\RailsInstaller\Ruby1.8.7\setup_environment.bat as needed.If the PATH is not correct for the bash window, update the PATH environment using the Control Panel (preferred) or by creating a separate .bashrc file.To do this, bring up the Control Panel, click the System icon and then select the Advanced tab. Click the Environment Variables button, then edit the PATH in the “System variables” section to include the relevant directories.This requires the “Local Admin” privilege on your PC. If organization policy precludes this level of access, which is common with government agencies and government contractors, then set the path in C:\Documents and Settings\<username>\.bashrc. This file will conform to standard bash shell conventions.
Install MySQL: Install the Community Edition of MySQL (the free one), which is currently at version 5.5. Download and install it from the MySQL site. Accept the various defaults, and make sure you agree to set it up as a service (so you don’t have to worry about starting/stopping it manually). During the install, you’ll be asked to provide a password to go with the “root” account — remember your password, please.Upon completion of the installation, ensure that MySQL’s bin directory is added to the PATH (so you can easily use tools like the mysql client program).
MySQL Workbench: Strictly speaking, this isn’t required, but if you’re going to download MySQL you might as well also install the free tools that go with it. MySQL Workbench provides features that allow you to run queries against the database, design your database tables and manage your server instance (including user accounts).
Create Database: Create a schema for your Rails application, along with a user account. I typically create users with MySQL Workbench, but I create schemas using the mysql client (since MySQL Workbench is terrible in this area).
Install the mysql2 Gem: You’ll need to do the install manually, rather than via bundle, since there are some key parameters that need to be provided. Also, you’ll want to do the install from bash, so the various UINX-ish utilities are available to the build process.Also, a note on versions. If you’re using Ruby 1.8.7, you should be using version 0.2.7 of the gem. Those using Ruby 1.9.2 (at your own peril), should be using the latest version of the gem.To do the install: $ gem install mysql2 -v=0.2.7 — ‘–with-mysql-lib=”c:\Program Files\MySQL\MySQL Server 5.5\lib” –with-mysql-include=”c:\Program Files\MySQL\MySQL Server 5.5\include”‘Note the careful use of quotes.
Setup Your Rails App: Make sure your Rails app is properly configured to use the mysql2 gem. List the mysql2 gem in the application’s Gemfile with version 0.2.7. Also, in the database.yml file, the adapter should be “mysql2” and not “mysql”.
Start the Rails Server: Start up your Rails application. Everything should be fine at this point. However, if the application is complaining about not finding “libmysql.dll” then go to the next step (otherwise skip it).
Workaround: If your application complained about not being able to find “libmysql.dll” then you’ll need to do this workaround. Copy “libmysql.dll” from the lib directory of your MySQL installation into C:\RailsInstaller\Ruby1.8.7\bin. Then start your Rails app again and everything should be fine.
Well, the steps aren’t as painless as I’d like, but they should get you up and running with Ruby 1.8.7, Rails 3 and MySQL. Good luck!
Rails and Rails-related tools need to work on the PC. Due to a variety of circumstances, I have ended up functioning as a multi-OS developer, and I’m often appalled at the disregard accorded to PC-based Rails development. I will explain why I think it’s not just important that the Rails community support the PC, I think it’s vital.
Compared to most Rails developers, I’m in a unique situation. I develop on a Mac for my side activities, such as supporting the RubyNation Conference which I co-founded. But I live in the Washington DC metropolitan area, and I work for a large government contractor. I’m doing Ruby on Rails development using a full-on agile methodology for a government project. But we’re mandated to do all of our development work on PC’s.
That’s not negotiable. It’s not going to change.
Jumping the Chasm
What’s happening now is that a lot of large, conservative organizations are hearing about Rails, and agile development and the benefits that can ensue from them. This includes government agencies.
There’s a phrase for this. It’s called “jumping the chasm.” It means that Rails is starting to be seen as a viable technology by mainstream organizations.
Why is this important?
Well, there are a LOT more projects in the mainstream that there are in the edges where Rails has traditionally been operating. So, we all know you can use Rails effectively to create green field applications. But now Rails is being picked for larger enterprise projects by larger, well-established and more conservative companies.
Let me be blunt. These larger and more conservative companies may not be as nimble as your typical green field Internet startup…but they have money. They have a LOT of money. And they often need many more developers for their large enterprise apps than startups do.
They’re important if Ruby is going to continue its expansion. Slamming the door in their face and saying that Rails won’t support Windows, or that it’s perfectly acceptable for a gem to not function properly under Windows is self-defeating.
Truthfully, most of these companies are fine with deploying to Linux production environments. But they’ll still prefer PC’s for development boxes.
The New Rails Newbies
On another tack, where do you think new Rails developers are going to come from?
According the famed Rubyist Dr. Nic in his keynote for RubyNation 2011, there is a parallel progression for Ruby/Rails experts. As they go from Beginner to Intermediate to Expert, they also tend to progress from the PC to the Mac. Over time, this has resulted in a much lower level of support for the PC realm, since most Experts, by virtue of progressing to Expert level, have left that environment.
Increasingly however, new Rails developers are coming from the PC realm. If their first exposure to Rails is the obsolete InstantRails package, how likely are they to be stopped in their tracks? The expansion of our community, for which many of us depend on for our revenue, requires new blood.
We need these newbies. We should provide better support for them.
Summary
Let me sum up why I think the PC market is important to the Rails community:
Rails will be increasingly adopted by large, conservative organizations, including government agencies, that are more comfortable with PC’s. If you want to play with them, then you’re going to have to play in the sandbox they’re comfortable with, the PC.
New Rails developers will increasingly come from the ranks of PC-based developers. Not all of these developers will have the latitude to adopt Macs as their platform of choice.
Other technologies like Java, Python and PHP work effectively in all environments. If Ruby and Rails are going to compete effectively with these technologies, they need to operate on PCs as well.
Since I am now a multi-OS Ruby developer, I will be producing a series of blog entries over the next few months to help PC-based Rubyists work with Ruby and Rails. Keep checking back for new blog entries.
Rails layouts are a nice way to organize boiler-plate HTML content in a DRY (“Don’t Repeat Yourself” in case you’ve been asleep for a while) fashion. But your standard layout may not be sufficient to meet the needs of all web pages, particularly when it comes to including CSS style sheets or JavaScript files.
The Problem
In a Rails 3.x application, how can you provide an easy method for web pages to include page-specific CSS style sheets and JavaScript files within the <head> section of the HTML?
The Solution
Here’s a straight-forward solution to the problem:
Note the “yield :head” statement in the <head> section of the document. With this construct in place, any web page can add custom content to the <head> element of the page.
  <% content_for :head do %>
    <%= javascript_include_tag 'custom.css' %>
  <% end %>
In the example above, a custom CSS file is added for one specific web page.
With this method, no other page has to bear the burden of including a CSS file that will not be used on that page. For any page that does not provide content for the <head> element, well, no content will be inserted. This is a simple way to support per-page customization capabilities while only affecting the pages that need their own custom support files.
To the extent possible, it’s beneficial to limit the number of CSS stylesheets your website has. So I’m not advocating tons of little CSS stylesheets for your website. But when one page has a bunch of special-purpose CSS, it’s good to segregate that code in a separate stylesheet and include it in only where it’s needed.
The recipe described in this article serves to meet those occasional CSS needs.
I’ve decided to make the leap. I’m in the process of upgrading the KeenerTech web site from Rails 2.3.5 to Rails 3.0.5. Lots of required changes, but mostly minor stuff except for the ActiveScaffold upgrade.